 PhotoMind.appPhotoMind
Highlights Or Whites
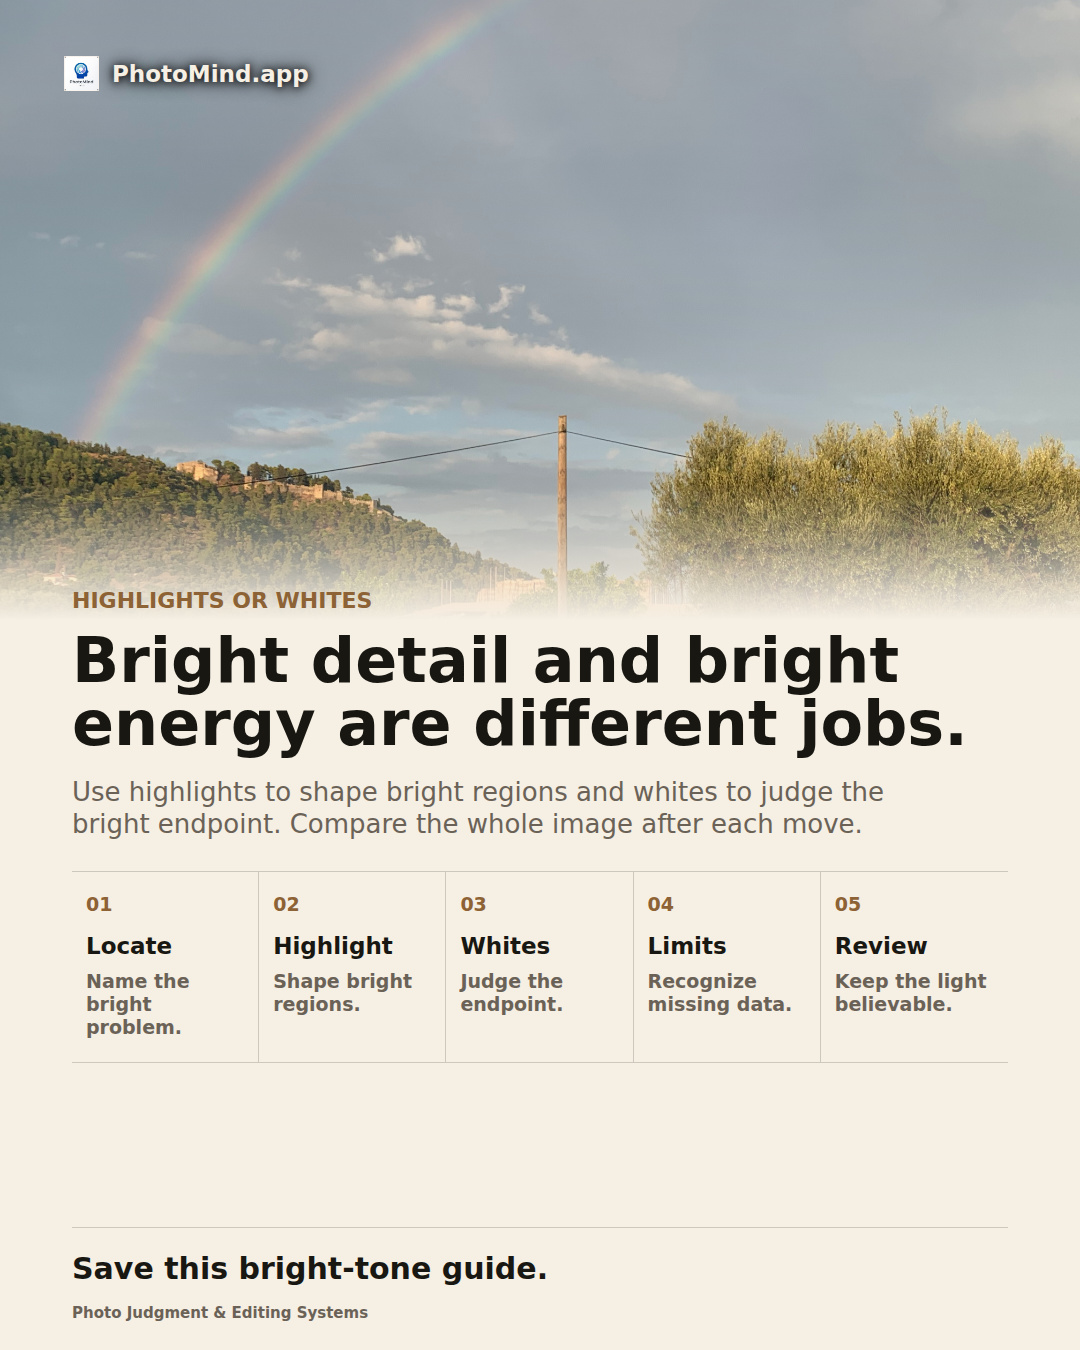
Use highlights to shape bright regions and whites to judge the bright endpoint. Compare the whole image after each move.
Locate
Decide whether a broad bright area lacks texture or whether the whole image lacks a convincing bright anchor.
Highlight
Adjust highlights to balance bright surfaces or clouds. Avoid making luminous areas look dull simply to reveal more detail.
Whites
Use whites to shape the brightest end of the image. Watch important detail and the feeling of clean light together.
Limits
A badly clipped source may not contain recoverable detail. Do not mistake a gray patch for restored texture.
Review
Toggle the adjustments at full-frame view. The brighter regions should support the subject and still feel like light.
Worked example
Clouds above a hillside may need some highlight restraint while a sunlit wall still needs a bright anchor. Pulling both highlights and whites down heavily can flatten the whole scene rather than solve the sky.
Keep in mind
These controls overlap in effect and respond to the file. Treat their roles as a practical distinction rather than perfectly isolated tone bands.